Friday, August 17, 2012

Summer's Blueberry Buttermilk Smoothie

Daughter Samantha's guest post. She's been busy in the kitchen again:


The fruit harvest is one of my very favorite things about summer.  All of the berries, you guys.  So sweet and scrumptious.  In my opinion, the best thing made with fresh berries is gelato, but if you can't get to my favorite place in Philadelphia- Capogiro (amazing!)- the next best thing is to make a tangy delicious smoothie.
Using buttermilk adds a big tang to this smoothie, which I really love.  If you like yogurt, you are sure to love this.


Blueberry Buttermilk Smoothie

Ingredients:
2 c blueberries
1/4 c milk
3/4 c buttermilk
2 tbsp honey

Toss all of your ingredients into a blender and pulse until smoothie is frothy, sweet, and so very blueberry.


(Fun fact: Did you know that blueberries were originally called purpleberries? That's quite a mouthful!)

We had some leftover buttermilk, so my sister made buttermilk biscuits. She added 1 cup of shredded cheese to a basic biscuit recipe, and then also sprinkled the biscuits with cheese halfway through the baking time.


Happy weekend, everyone! Enjoy these last sweet days of summer!

Samantha

Wednesday, August 15, 2012

What's Happenin'?

So.... there's lots going on here- but mostly boring administrative stuff. I don't think you want to see a photo of filing cabinet, do you? Nah, I didn't think so....

I wanted to show you these gorgeous photos I received from Deborah at Woolen Sails Blog. A couple of weeks ago we got to talking when I showed you my oh-so-simple ring bearer's pillow, made by wrapping a vintage embroidered table runner around a pillow form. Deborah sent me photos of the one she had just made for her son and daughter-in-law- gorgeous! Look at all the hand embroidery that she did- I love the white on white, so elegant, and surely a keepsake. She discusses the details here.


This is the pillow that I made for my daughter's wedding back in June, using a linen that my grandmother had hand embroidered over 60 years ago....


Also today I wanted to say Congratulations to Husei all the way in Malaysia who won my Christmas in July giveaway a few weeks ago. Your prize is on its way, Husei.  By the way, I have another giveaway coming up soon so check back.


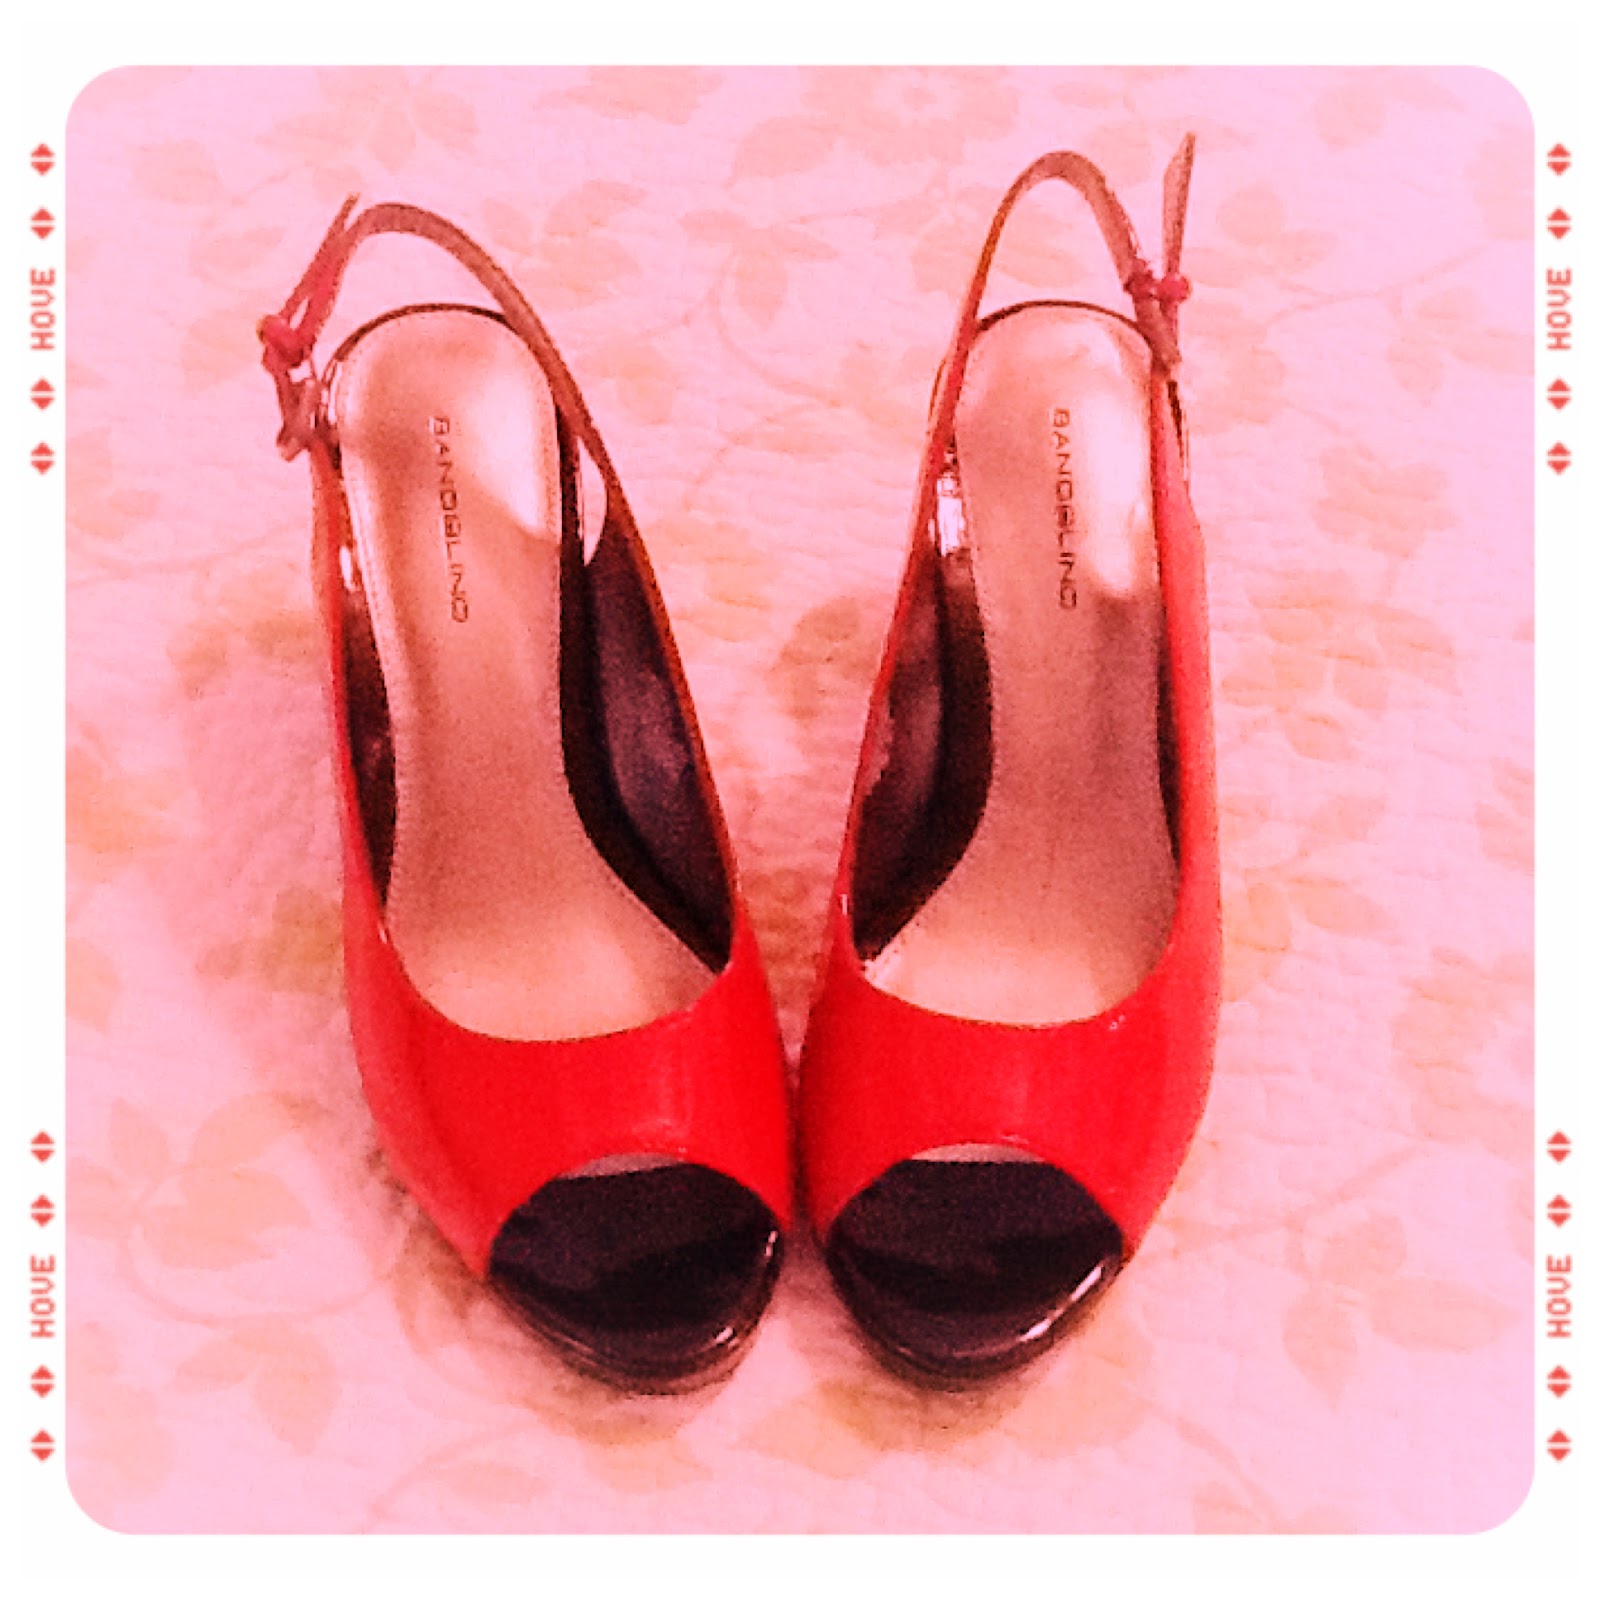
Finally, I was feeling a bit down last week... but there is nothing like RED to cheer me up when I am blue.
Look what I bought for myself (a bargain at Marshall's- and they had my size- I took that as a sign that they were meant to be mine....) They make me want to click my heels three times.... I will be wearing them when I go out for my birthday dinner tomorrow night:

(Photo taken with iPad, edited with PicStitch)

What's happenin' with you this week?

Monday, August 13, 2012

In The Studio This Week....

Last week was a busy week- I spent Wednesday at a local quilt shop for a Quilts for Kids charity event. I started work on 2 quilt tops... but I am a slow cutter and sew-er (not to be confused with a sewer, if you know what I mean.) In between chatting and eating snacks, I got my blocks cut- that is all! Never even took out the sewing machine. I spent much of Thursday and Friday sewing, Saturday morning machine quilting them, and Sunday binding them. This morning, I washed and dried them and Ta-da! they are ready to be dropped off. (I made the quilts using my A Beautiful Day fabric line. The soft pastel colors made up some really pretty quilts for a hospitalized baby/toddler somewhere.)


 The blocks. 

The tops, ready to be quilted.

What do you think of my "artsy" photos? They were all taken with my iPad. The family has been dragging me, once again kicking and screaming, into the technological age! I am now on Instagram, if you would like to see some of my other photos. I have to admit, begrudgingly, that I am really liking Instagram. Oh no- more social media to suck up my time! (I found myself lost in Pinterest for hours yesterday. The to-do list went out the window.)

Here is how I made these quilts so quickly: I chose an assortment of fabrics, and just started cutting 10" squares. When I had a pile, I started pairing them up into half square triangle units (no rhyme or reason here, just started sewing.) Then daughter arranged the blocks for me, and I ended up with enough to make 2 child size quilts (somewhere around 45-50"). To quilt them, I stitched in the ditch, and then stitched diagonally  (I didn't mark the quilts- just "eyeballed" the stitching from corner to corner of each block.) I did not add borders. As I said- these are the quickest quilts I've ever made, but it was quite therapeutic, as I was having kind of a hard week last week. I find it is always helpful to do something for someone else when I want to get my mind off of my own problems (you know when sometimes you just get sick of yourself?...... yeah.) It was a good distraction, thinking about how some little kid in the hospital was really going to love snuggling up with my quilt.

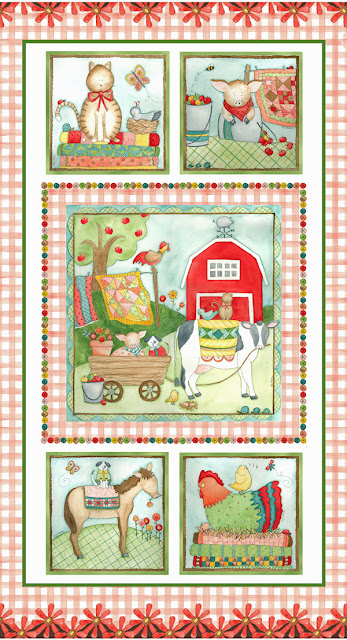
In between all of that, I did a little bit of work for my next fabric line (mostly computer stuff- carpel tunnel setting in....) And our family visited the County Fair- one of my very favorite events for the whole year. I love seeing the animals- and every year I insist that my husband build me a chicken coop and fence for goats.... maybe this will be the year that we do it? Who knows?

Pile o' Piggies!


 Me and my new friend.

My daughter's friend Kayla ended her reign as 2012 Fair Queen.

In addition to the animals, we also like the tractors. I have a thing for Red Farmall Tractors. I can't explain it....

The fair, as everything else, is always a source of inspiration....


OK I think I'd better get to work now. Have a Marvelous Monday!

Friday, August 10, 2012

S'more Lovin'

My daughter Samantha has found several ways to make S'mores even more delicious! Here is her guest post for today....


As some of you may know, today is National S'more Day! I have always been a big fan of s'mores; my favorite time to have them is during this time of year when we go on vacation and set up a bonfire on the beach for roasting.  This year, however, since I can't make it to the beach, I decided to make my own s'more variations in my kitchen.


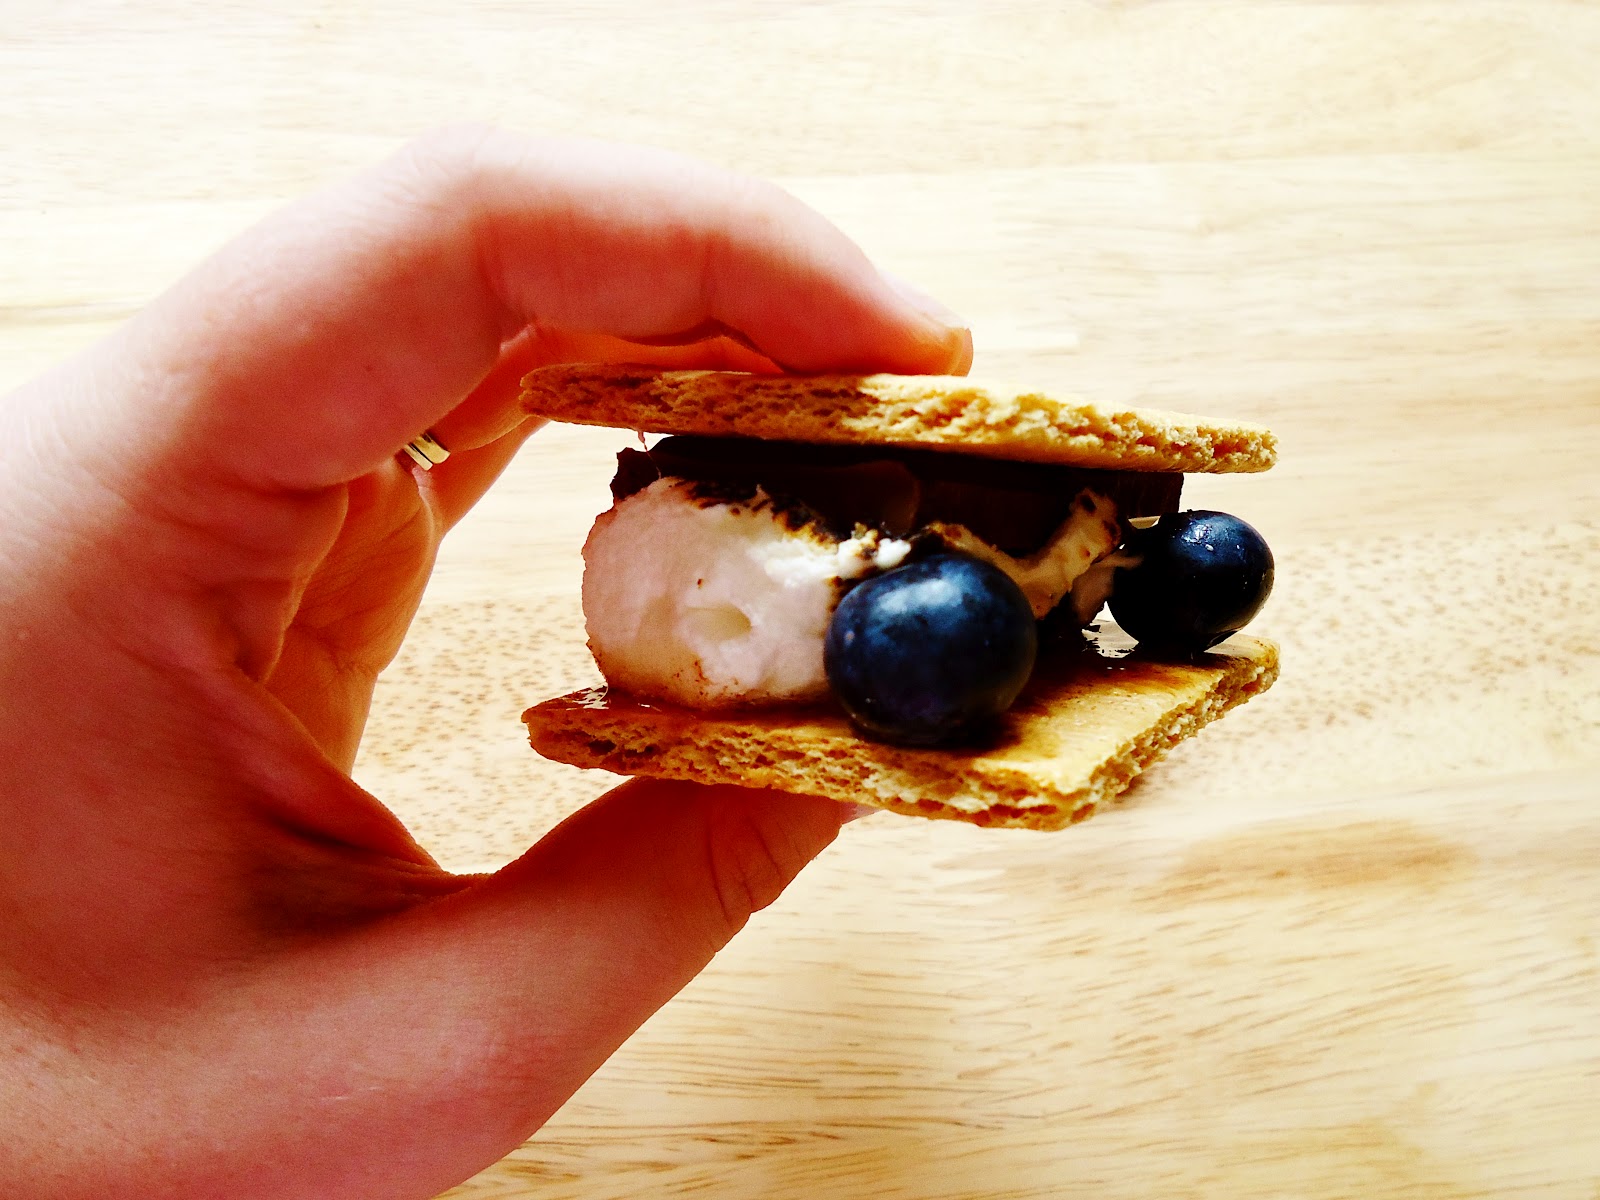
Variation #1: The Breakfast-In-Bed S'more
Ingredients: graham crackers/honey/cinnamon/blueberries/chocolate/marshmallows

Variation #2: Elvis's Dream S'more
Ingredients: graham crackers/ peanut butter/ sliced banana/ chocolate/ marshmallows

Variation #3: The Epicurious S'more
Ingredients: graham crackers/ fig preserves/ mount chevre goat cheese/ marshmallows

Tips: To roast marshmallows inside, turn on your gas stove, put marshmallow on bamboo skewer, and carefully hold over the flame until your marshmallow is golden and melty.
IMPORTANT: Soak the skewers in water for 15-20 minutes before using so that they don't catch on fire!

Don't they look delicious? And believe me, they were. You can mix and match these variations as much as you like; I made a second Breakfast-In-Bed with bananas instead of blueberries and it was so very yummy! 

So please, enjoy National S'more Day in style! Let me know what kind of recipes you can come up with!  Now, if you'll excuse me, I'm going to go make some more Epicurious S'mores.

Happy weekend!

Samantha


Wednesday, August 8, 2012

More Wedding Details....

Details, details.... that's what makes the big day special, right? So here are a few more simple things we did to make Daughter's Wedding Day perfect.... All of the ideas are pretty easy and inexpensive. It just takes some planning and thinking ahead so you can get it all done on time. Of course, every time I go on Pinterest I see an idea which I wish we had thought of before the wedding! Oh Pinterest, you are a dangerous thing....

We ordered an assortment of vintage looking bottles online and made simple paper tags with guests' names and table numbers and attached them to the bottles with twine. The florist placed airy flowers in the bottles and lined them up on a table at the entrance to the reception. These acted as escort cards for the guests, which they could then take home as favors. I have to say- they looked beautiful and I loved this idea!


Carrying that theme into the dining room extra bottles, votive candles, and Baby's Breath line the window sills....


Daughter wanted guests to be able to write notes to the couple, so we got this old box for just a few dollars at a flea market, she painted a cute design on the front, and it was placed on the gift table at the reception....


Daughter got her dress at David's Bridal, but we thought it needed just a little extra something.... we found this trim with beaded leaves at a shop in NYC at Christmastime, it was so perfect it was like it was made just for this dress.... We had the seamstress attach it to satin ribbon and stitch it to the waist of the dress for a sash.... It was a really simple way to make a dress bought at a large chain store special and unique for the bride.


Younger Daughter made a simple banner with cardstock and twine for the new Mr. & Mrs. at the reception...


Finally, I wanted to surprise the Bride & Groom with special wishes for their sendoff after the reception. My father-in-law had some old rough floor boards which he glued together. I painted this phrase on it and we placed it by the new couple's "get away car" at the end of the reception. It now hangs in their new apartment.


Here's to living Happily Ever After......

Monday, August 6, 2012

Wedding Details....

I can't believe it's been almost 2 whole months since Daughter's wedding. So much preparation leading up to it... and now it's over (along with almost the whole entire summer! I don't know how that happened.) We recently got the CD from the photographer (it took awhile, because it got lost in the mail.)

The worst- and best- thing about planning a wedding is all of the little details need attention. Sometimes those little details just become pesky and annoying (Is there really a difference between the ivory and the buff table linens?) But then there are the details that make the day really special.

Take for example, the groom's tie. My daughter bought this to coordinate with the groomsmen's ties- and then as a surprise, hand embroidered the back of the tie and surprised Jeff with it the day of the wedding. I am sure he will cherish it always, even when pink striped ties go out of style.... (This was my favorite detail of the wedding, even though most of the guests never saw it.)


My second favorite detail was the ring bearer's pillow. We wanted to do something a little different and we were looking online for some ideas. We saw a pillow made from an old handkerchief, and I remembered that I had a drawer full of hand embroidered linens that my grandmother made almost 70 years ago. My grandfather was in the Navy, and when they were courting my grandmother would sit in the evenings and do embroidery while waiting for him to come and visit, and to while away the hours when he was away.

I didn't want to cut up such precious family keepsakes, so we chose a table runner and wrapped it around a pillow form. (Just like wrapping a present). I used very large basting stitches on the bottom, and used a few stitches to tack a piece of grosgrain ribbon to the top to hold the rings (not the real rings- just fake ones from the craft store. The Best Man had the real rings in his pocket.)


After the wedding I was able to take out the basting stitches and the table runner was good as new (or good-as-old, actually). It was the perfect "Something Borrowed." Below is a photo of all 4 generations of the women in our family- my daughter, me, my mother, and my grandmother who embroidered the linens all those years ago.


For gifts for the Bridesmaids, my daughter found necklaces from an Etsy shop all the way in Greece.


We made the table numbers. My husband cut pieces of old wood from the fence around our house, then Youngest Daughter (aka Maid of Honor) hand painted the numbers. The rustic look was exactly what we were looking for for the table settings and venue.


More wedding details to come.... stay tuned....

And don't forget you have until Midnight EDT tonight to enter the Christmas in July giveaway here. Good luck.

Friday, August 3, 2012

DIY Necklace Organizer

Daughter Samantha has come up with a simple project that I think we all can use (I know I need to organize the clump of necklaces on my dresser and in my jewelry box!)


Before I came across this idea, I used to "organize" my necklaces by grouping them in ziplock bags on top of my dresser.  Needless to say, it wasn't very effective or pretty.  But this on the other hand, is very pretty and  keeps my necklaces from being tangled together.

Here's all you need:
Piece of scrap wood/ Spray paint/ Drawer pulls/ Ribbon/ Staple gun/ Electric drill & drill bits

1. Spray paint your piece of wood. Aim into the wind and away from anything it could permanently damage! Let dry and add additional coats as needed.
2. Look at the size of the screws that go with your drawer pulls and compare to the size of your drill bits.  Estimate which would be best, and mark the wood where the pulls will go, and drill as many holes as you have pulls.  You could do them all in a line, or zig-zagged, or whatever you think is cute!
3. Hold your first pull up to the hole, and screw in the coordinating screw from the back of the wood. Continue with the rest of your pulls.  
4. Measure and cut your ribbon to the length you think it should be.  Make sure you allow some extra for a bow, and cut in half.  Staple each ribbon to the back of one end of the wood.  Tie  in a bow in the middle.
5. Last, depending on what you drawer pulls/wood is like, you may have to actually screw the piece of wood into the wall, rather than hang it.  Because my pulls were too heavy, my piece of wood drooped over when I hung it by the ribbon.


And there you are! A much nicer alternative to zip-lock bags!

You can also use this principle for really anything in your home that needs a little organizational face-lift.  I'm thinking a towel rack,  kitchen utensils, or even a coat rack by the front door! Let me know what you come up with!

Happy weekend!

Samantha

 P.S. Don't forget the big giveaway here on this blog, and at Henry Glass Fabrics all this week.

Wednesday, August 1, 2012

Seeking Balance

We talk a lot about balance. I talk about and think about it all the time- trying to find it, needing to find it. Some claim that they have found it, others say (probably more honestly) that is something that they struggle with on an almost daily basis.

I am an all-or-nothing, driven, Type A personality. When I find something new that I'm interested in, I tend to do it all the way- determinedly, doggedly, unabashedly. Nothing can keep me from my pursuit... and then.... I'm done.

I find that my balance comes over the course of months or seasons. For a season, I work, work, work- 11 hours days 5 days a week plus several hours on Saturday and Sunday. And then... I am tired. I am worn out, burned out, and I wonder- why bother? There is no joy in the work anymore at that point. And I start to question whether I'm doing what I'm supposed to be doing... and the answer is of course I am, but I have burned myself out and need a break, a season of rest. I think that's where I am now.

Lately I have been questioning myself- Is this what I really want? Is this what I really want to do? And when I think about it, I know the answer is yes. But I am just in one of those "rest" seasons. Resting not just from work, but from some wonderful yet emotionally stressful events. As most of you know, my oldest daughter got married last month, and youngest daughter got her driver's license and will be a high school senior next year. Which leaves me with those ambivalent feelings of Yay! I will have tons of time now/ /Oh my gosh what in the world am I going to do with all of my time???


I am in transition. Transition is exciting, fun, and scary. Really scary. Full of feelings and fears and worries and possibilities. While I am trying to feel and accept my feelings and fears (in addition to being Type A, I am also a let's Git-R-Done and not-waste-time-with-feelings type of person) I am trying to focus on the possibilities.

In this period of transition, I will remember that
My daily life will probably not be balanced, but that doesn't mean I am not living a balanced life. In the course of a week, a month, a season, a year, a life.... I will trust that I have given the appropriate amount of time and attention to every important facet of my life: my faith, my family, my work, helping others, fun and relaxation.


Some days I will work too hard, other days I will play too much, and other days I will do nothing at all. And that's OK. I just have to keep reminding myself.


 I know that there is nothing better for people than to be happy and to do good while they live. That each of them may eat and drink, and find satisfaction in all their toil—this is the gift of God. Ecclesiastes 3:12-13


 P.S. Don't forget the big giveaway here on my blog, and at Henry Glass Fabrics all this week.

LinkWithin

Related Posts with Thumbnails